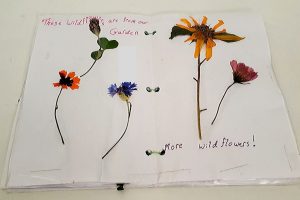
A Pressed Flower Journal is the perfect way to preserve your pressed flowers you and your kids have collected in the Spring. Pressed flowers filled two heavy books on my shelf by the end of Summer. Roo and I collected them throughout spring and early Summer from our garden, picking wild flowers, and from a bouquet of flowers Roo got for her first dance recital.
Now that Fall is here and there are fewer flowers to be found, I decided something needed to be done with those pressed flower. I settled on making a pressed flower journal Roo can revisit during the dreary days of Winter.
*Disclaimer: My posts contain affiliate links. If you choose to make a purchase after clicking one of these links, I will receive a small commission at NO extra cost to you. For my full disclosure click here.*
DIY Pressed Flower Book
Supplies
Pressed flowers
Glue
Paper
Contact paper or laminating sheets
Hole punch
String
Pressing flowers
There are a few ways to press flowers…This blog post by has some great tutorials.
We used the old fashioned tissue and heavy books method.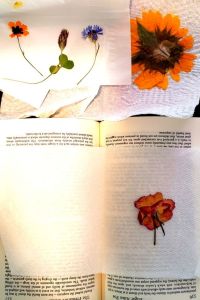
Making The Journal Pages
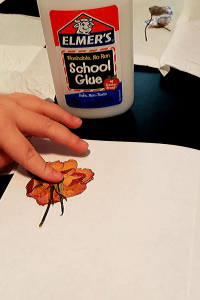 Fold the paper in half. Add punch three holes along the crease of each page.
Let your child help to arrange the delicate flowers on each half of the folded paper.
Once you are both happy with the placement, glue the flower in place.
 Don’t worry if some dry petals fall off, just glue them back in place or create an alternate design!
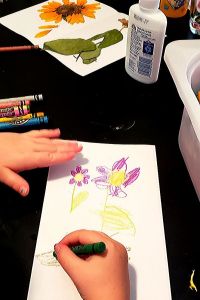 If your child is older, let them caption each page. For younger kids, let then work on a cover page for the journal while you add the captions. Captions can include a story from the day you found the flower, what type of flower it is, or the special moment when you got the flower.
Once the glue is dried, roll out your contact paper and measure the full sheet of paper you used. Self laminating paper like this won’t require any cutting or measuring.
Follow the instructions on the clear sticky paper, and press over the top of your pressed flowers.
Repeat for the back of the page OR stick two pages together with back sides facing each other. Make sure the holes are aligned.
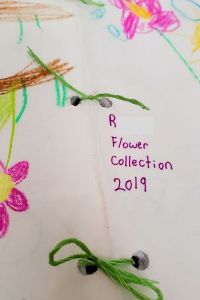 Use the hole punch again to punch through the layers of contact paper.
Decide on an order for your pressed flower journal pages and align the holes.
Thread string through the holes with both ends stick out the cover of the book. Tie with a knot.
Repeat on all three holes and your pressed flower journal is complete!
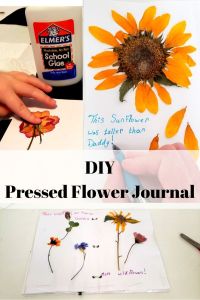
Pin Me!
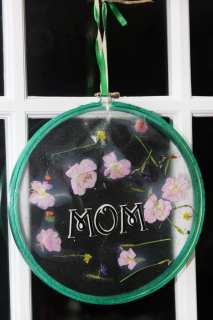
More Pressed Flower Crafts!


0 Comments