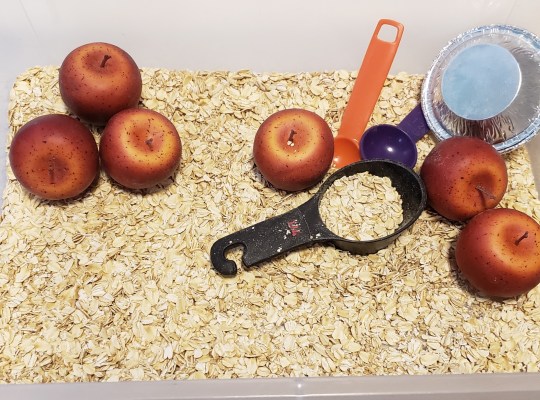
This project was almost soothing for me and kept Roo entertained for awhile. Be warned! It is a very messy activity and can get out of hand quickly. Have lots of towels and rags close by and don’t do this before any important events!
*TMI Post alert. If talking about bowel movements and potty training makes you uncomfortable, scroll down until you see the first picture*
Roo and I recently gave up most dairy products in an effort to ease the constant battle she has had with constipation since birth. I decided to give it a try rather suddenly after a full weekend of dealing with a cranky, constipated toddler that just wouldn’t/couldn’t poop! So far it seems to be working. In fact, she has used the potty for poop everytime since we gave up dairy. Today was a huge milestone, because she sat herself down without any prompting, bribing, fighting, or other drama that usually comes with getting her to poo.
All that being said, we ended up with a nearly full gallon of milk 14 days past its expiration date. So when I saw a Pinterest activity using milk for an art project, we gave it a try! Here’s everything you need for this project:
Milk
Food coloring
Dish Soap
Shallow dish or cookie sheet
Watercolor Paper for dipping
Sticks, Q-tips, paintbrushes, toothpicks, or any tool you can use to swirl the colors
- Pour the milk into the dish or cookie sheet. The first set we did I filled it too full and spilled a lot when it was time to empty it. You don’t need a whole lot! Just enough to cover the surface and enough depth that the food coloring doesn’t drop down to the sheet before mixing into the milk.
- Choose your colors. Try to remind young kids that the more color families you introduce, the muddier the colors will get!
- Drip food coloring into the milk then use your tools to swirl and spread it
- The drip in the dish soap and watch the magic!
- That part is fun and watching the color move away from the soap is a very calming feeling! But you can keep the color swirls and dip your watercolor paper into the milk. Now before you get too excited, the paper will not show the same patterns and swirls as what you see on the milk. It inevitably drips off when you pick it up out of the water and the colors slide around. But they’re still very pretty!
After a couple of dips, pour out the colored milk and start over again! I found it easiest to keep a big bowl close by to pour the milk into. That way I didn’t have to do the balancing act all the way to the kitchen sink and hope I didn’t spill any on the way!
Then once the paper dries you can use it for whatever paper craft you can think of! I’m thinking I can write some pretty quotes or make thank you cards. Roo decided to use it to practice her pre-writing skills. She grabbed a toothpick and pretended to write on her pretty paper.
If you try or have already tried this project, send me your pictures! I’d love to see your creations. Any tips for getting the swirls to transfer better? What did you do with the paper afterward? Leave me a comment or message me on our Facebook page!

[…] of the posts thus far have been about activities and crafts you can do WITH your kids. Or things your kids can do to give you some space. Here is a project you can do with some of that […]